Connect with OneDrive
High Quality Video Sharing
Store & share your recordings seamlessly with OneDrive integration
10 min to read
It’s overt from the title only, we are showing below how to host a MEAN stack app on the AWS EC2 instance serve for free. Before heading towards this tutorial, we will first introduce you all to the technology stacks that we have used here. In the following tutorial, we have set up a production-ready web server from scratch on the Amazon EC2 (Elastic Compute Cloud) service. Then, later we have shown how to deploy the custom Mean Stack hosting application to it which mainly supports user registration as well as authentication.
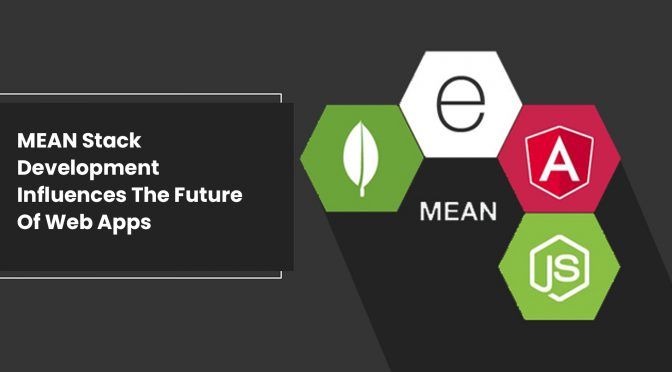
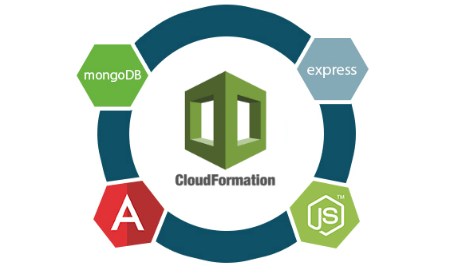
A MEAN Stack application is a software stack that is developed completely on JavaScript. It is a set of technology layers forming up the modern application. MEAN basically represents the usage of JavaScript as a “full-stack development” language, running every specific thing in the application from the front end to the back end. Every letter in MEAN shows a stack component:
Also Read | 5 APIs You Need On Your Website
Here, we have entirely focused on successfully setting up the server on AWS EC2. Then, we concentrated on deploying and configuring the front-end and back-end parts of the MEAN stack application to operate together.
According to Stack Overflow’s Developer Survey Results 2017, the technologies used in the Mean Stack hosting are among the TOP 5 of the most famous technologies. Now, they have hosted it on AWS which is highly popular among modern-day developers.
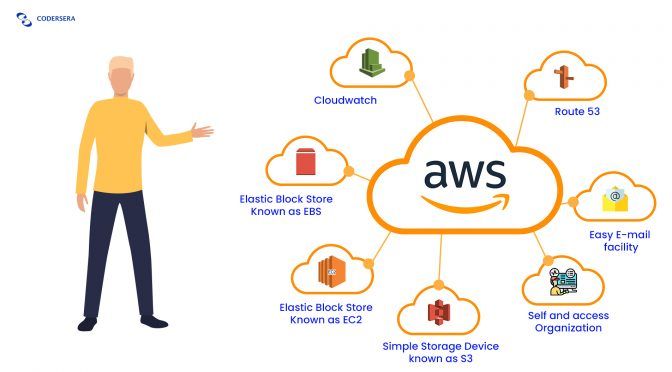
Amazon Web Services (AWS) is a complete and evolving cloud computing platform that is offered by Amazon including a perfect blend of infrastructure as a service (IaaS), a platform as a service (PaaS), and also a packaged software as a service (SaaS). The services of AWS are free to connect and you have to only for what you are already using. We know already that Amazon has the heftiest market share in the cloud business, top-most Google, Microsoft, and IBM.
They have started offering their free-tier services and you can avail of them by signing up for an AWS account. While signing up, you have to provide your credit/debit card details. AWS will deduct a tiny amount from your respected account which will be credited back to your account after successful verification.
Let’s dive in with the tutorial.
Firstly, we require a server on which we can work. So, you just have to follow the steps given below to form a new Ubuntu 18.04 server instance on Amazon Web Services (AWS) EC2.
Also Read | Create a Custom React-native Component From Native Java Component
Once the EC2 instance arrives at a running state, then you can easily connect through SSH with the private key that you downloaded earlier.
chmod 400 <path-to-key-file> e.g. chmod 400 ~/Downloads/my-aws-key.pem. Besides, the key must not be viewable to the public for SSH to work properly.ssh -i <path-to-key-file> ubuntu@<domain name> e.g. ssh -i ~/Downloads/my-aws-key.pem ubuntu@ec2-52-221-185-40.ap-southeast-2.compute.amazonaws.comyes to add that URL to your complete list of already known hosts.If you have joined through Windows, you can easily connect to your instance through SSH using the PuTTY SSH client. In case of instructions, you can go through the Connect Using PuTTY in the AWS docs.
Also Read | Top Productivity Private Video Hosting Platforms For Business
The command mentioned here makes a specific script to automatically set up and then configure a production-ready Mean Stack hosting web server on Ubuntu comprising NGINX, UFW, Node.js, and MongoDB.
You have to run the below-given command while staying connected to the new AWS EC2 instance in the terminal window:
curl
https://gist.githubusercontent.com/cornflourblue
 	/f0abd30f47d96d6ff127fe8a9e5bbd9f/raw
 	/e3047c9dc3ce8b796e7354c92d2c47ce61981d2f/setup
    -nodejs-mongodb-production-server-on-ubuntu-1804
    .sh
| sudo bashIn order to successfully set up the Node.js API on the server and then configure NGINX to get the access available to it, you require to follow the below steps:
/opt/back-end the directory by using the command sudo git clone https://github.com/cornflourblue/node-mongo-registration-login-api /opt/back-endcd /opt/back-end && sudo npm installsudo pm2 start server.jsSo, now the API is running on Node.js under the PM2 process manager and listening to it on port 4000. Also, only port 80 (HTTP) is accessible to the public on the server so can’t knock the API yet. It can only be achieved if we will configure NGINX as a reverse proxy to pass via HTTP traffic to the API.
Also Read | Sparkplug- A JavaScript Compiler improved Google Chrome 91
You need to follow the below steps to develop the Angular application on your local machine. Then, you can deploy it to the AWS server further.
git clone https://github.com/cornflourblue/angular-8-registration-login-example.git. Moreover, if you do not have the Git CLI installed, you can visit this URL https://git-scm.com/downloads to download it.npm install. If you require Node.js (including npm) to install, you can easily download it from https://nodejs.org/For this, first, open the Angular application module file (/src/app/app.module.ts) in a text editor.
You need to delete the below lines from the file to delete the fake backend that the Angular application uses by default:
// used to create fake backend import {
 		fakeBackendProvider } from './_helpers';
// provider used to create fake backend
 		fakeBackendProvider
4. You have to configure the path to API. For that:
/webpack.config.js) inside a text editor.apiURL to '/api' like given below:// global app config object config: JSON.stringify({
apiUrl: '/api' })
5. Now, develop the Angular application using the command npm run build.
sudo mkdir /opt/front-endsudo chown ubuntu:ubuntu /opt/front-end. This helps us to easily transfer the front-end files in the subsequent step.scp -i <path-to-key-file> -r <path-to-local-dist-folder>/* ubuntu@<domain name>:/opt/front-end. E.g. scp -i ~/Downloads/my-aws-key.pem -r ~/Downloads/angular-8-registration-login-example/dist/* ubuntu@ec2-52-221-185-40.ap-southeast-2.compute.amazonaws.com:/opt/front-end
If you have reached this step, it shows you have already followed all the instructions on how to connect from Windows using PuTTY in the AWS docs.
sudo mkdir /opt/front-endsudo chown ubuntu:ubuntu /opt/front-end. It basically permits us to transfer the front-end files in the upcoming step.pscp -i <path-to-key-file> -r <path-to-local-dist-folder>\* ubuntu@<domain name>:/opt/front-end. E.g. pscp -i C:\Downloads\my-aws-key.ppk -r C:\Downloads\angular-8-registration-login-example\dist\* ubuntu@ec2-52-221-185-40.ap-southeast-2.compute.amazonaws.com:/opt/front-end
Since the MEAN Stack app is developed with two different projects both demands to be accessible through the same port (HTTP on port 80). Here, we will be using NGINX as our public-facing web server to get requests from the back-end and front-end. Then, we will decide later when to send every request based on its route. Requests that are commencing with the path /api/* will be proxied through to the Node.js api that is already running on port 4000. While the other requests will cater to the Angular front-end application and the files associated with it (js/css/images).
server { charset utf-8; listen 80 default_server; server_name _; #
 		angular app &
front-end files location / { root /opt/front-end;
 		try_files $uri /index.html; }
# node api reverse proxy location /api/ { proxy_pass
http://localhost:4000/; } }server {...} is a server that has the configuration for a virtual server inside NGINX. charset utf-8; it utilizes the charset directive to mainly configure the virtual server to dispatch all content with the help of UTF-8 encoding. Certainly, it protects any Unicode characters that are inside your JavaScript from being directly converted before being delivered to the browser which can later cause many errors (e.g. invalid regular expression errors).
listen 80 default_server; it uses the listen directive to configure the virtual server to receive all the requests on port 80. It later sets it as the default virtual server on this NGINX server. server_name_; it mainly uses the server_name directive to perfectly set the server name to an underscore (_) to create this server block a catch-all block that equals any domain name that does not equal another more particular server block. Considering, this example has only one server block and it will equal all domain names.
location / { ...}; it shows a location block including the configuration for the requests that have a URI starting with a forward slash (/) unless that request URI equals another more particular location block. root /opt/front-end/dist; it uses the root directive to mainly set the root directory to the front-end dist folder (/opt/front-end/dist)
try_files $uri /index.html; it uses the try_files directive to initially check for the presence of a file matching the request URI ($uri) and returning it if there is one already. Moreover, if no file matches that request URI, then it automatically defaults to returning /index.html.
location /api/ { ...} refers to a location block including the configuration for requests that contain a URI starting with /api/. proxy_pass http://localhost:4000/; uses the proxy_pass directive to proxy requests beginning /api/ through to the Node.js API running at http://localhost:4000/.
Now, after numerous steps, you have to enter the hostname of your AWS EC2 instance in a browser to instantly access and then test your new MEAN Stack application. The hostname is the “Public DNS (IPv4)” property existing on the instance description tab in the AWS Console.
Voila!! Now, you have hosted your MEAN Stack App and launched it successfully. Note that you have to ensure to stop your instance on AWS once you get done with the tutorial and have tested your application. There are limited numbers of hours per month with the free account, so do not run the server all the time. The billing gets started when you exhaust your free usage limit.
For more information related to hosting your MEAN Stack app on AWS, you can contact our best dedicated Codersera team of developers.
Need expert guidance? Connect with a top Codersera professional today!