
Microsoft Exchange is a robust email and calendaring server widely used by small businesses, medium organizations, and large enterprises across all folds. Most organizations run an on-premises Exchange Server version that requires setting up and managing the server at their office location. However, with increasing risks of attacks on on-premises Exchange Servers, organizations are steadily moving towards cloud-based Office 365.
Office 365 is a secure and scalable Exchange Online solution that relieves organizations from setting up or managing their on-site server hardware.
Organizations may also opt for a Hybrid Exchange Deployment, which integrates on-premises Exchange with Office 365—providing a feature-rich user experience by offering the best of both worlds. In Hybrid deployments, organizations can keep data on their in-house server hardware while reaping the benefits of Office 365.
The hybrid deployment also serves as an intermediate step to migrating an on-premises Exchange organization to Microsoft 365 or Office 365.
In this article, we will explain how you can set up a Hybrid Exchange Office 365 environment and move mailboxes from your on-premises Exchange Server to Office 365 or Exchange Online.
Steps to Setup a Hybrid Exchange Office 365 Environment
Before setting up a hybrid Exchange Office 365 environment, update your on-premises Exchange to the supported version of Exchange Server.
To set up a hybrid Exchange deployment, you need to integrate the local Active Directory data with Office 365 environment. Microsoft provides Azure AD Connect to synchronize data from Active Directory on on-premises Exchange with Azure AD on Office 365.
Next, you need to configure the coexistence between on-premises Exchange and Exchange Online using the Hybrid Configuration wizard and then move the mailboxes.
The detailed steps are as follows,
Step 1: Synchronize Active Directory
You or may not synchronize the Active Directory based on your user management and authentication preference. You can choose between any of the following directory synchronization relationships,
Also Read |How To Hire Freelance Web Design Agency?
● Manage users in the on-premises AD and authenticate at on-premises AD without Azure directory synchronization (Federated))
● Manage users in the on-premises AD and authenticate at on-premises AD with Azure directory synchronization (Password hash sync)
● Manage users in the on-premises AD and authenticate at Azure AD (Pass-through)—requires directory synchronization
To synchronize the local Active Directory with Azure AD, follow these steps,
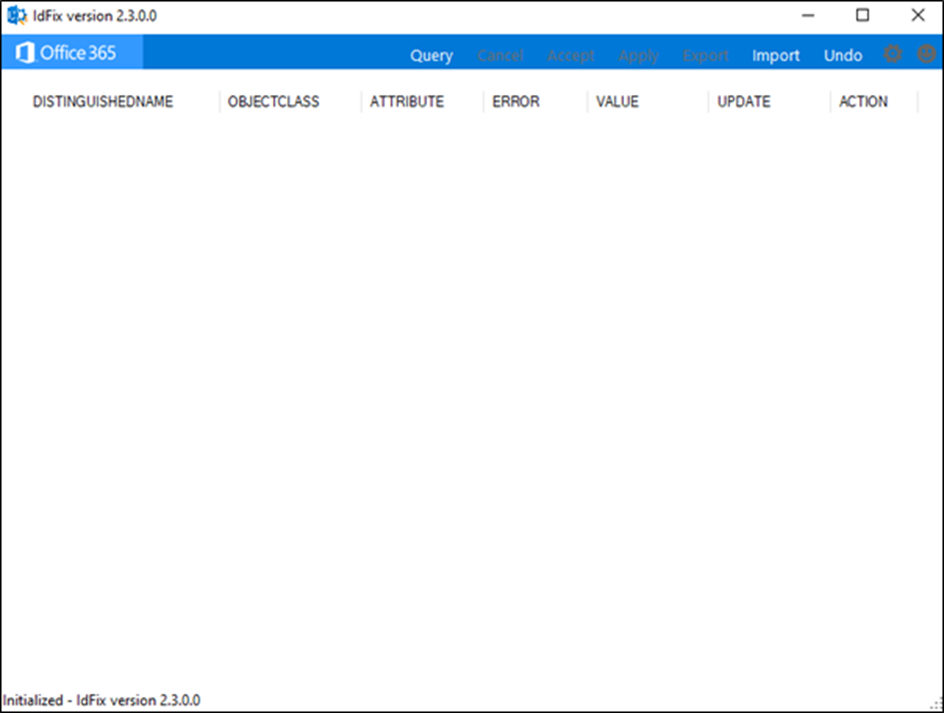
● On your on-premises Exchange Server, download and run the Microsoft IdFix tool. The tool scans your local Active Directory for objects and attributes that may lead to issues during directory synchronization.
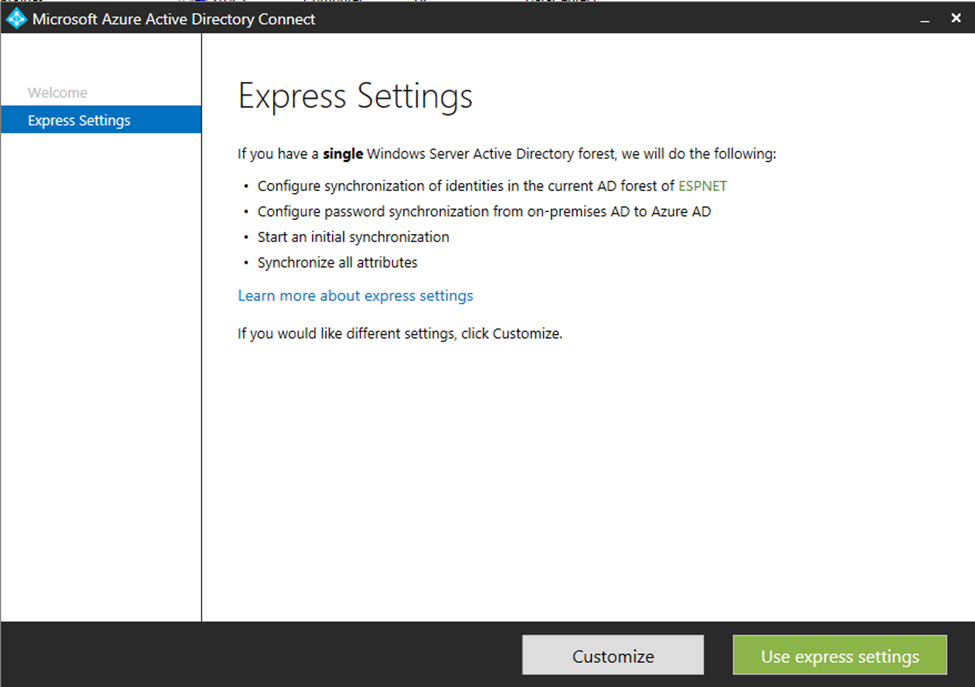
● Then download the Microsoft Azure AD Directory Connect (AAD Connect) tool and run it on your on-premises Exchange Server. Click ‘Continue> Use express settings.
Also Read | How To Monitor And Scale Your Supply Chain Performance
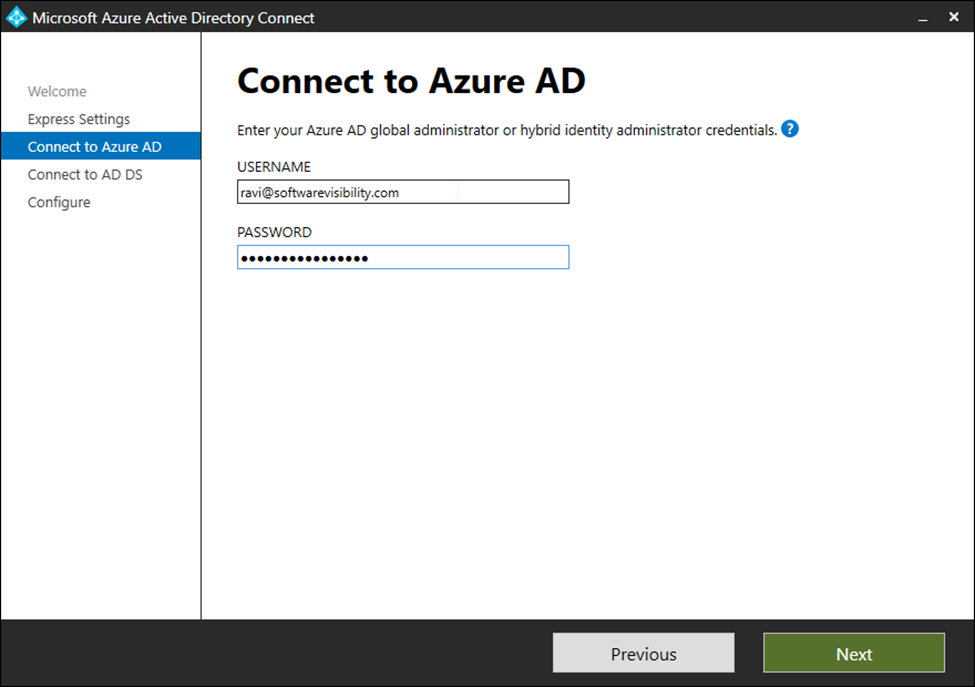
● Enter Azure AD Credentials (Office 365 tenant credentials) and click ‘Next.’
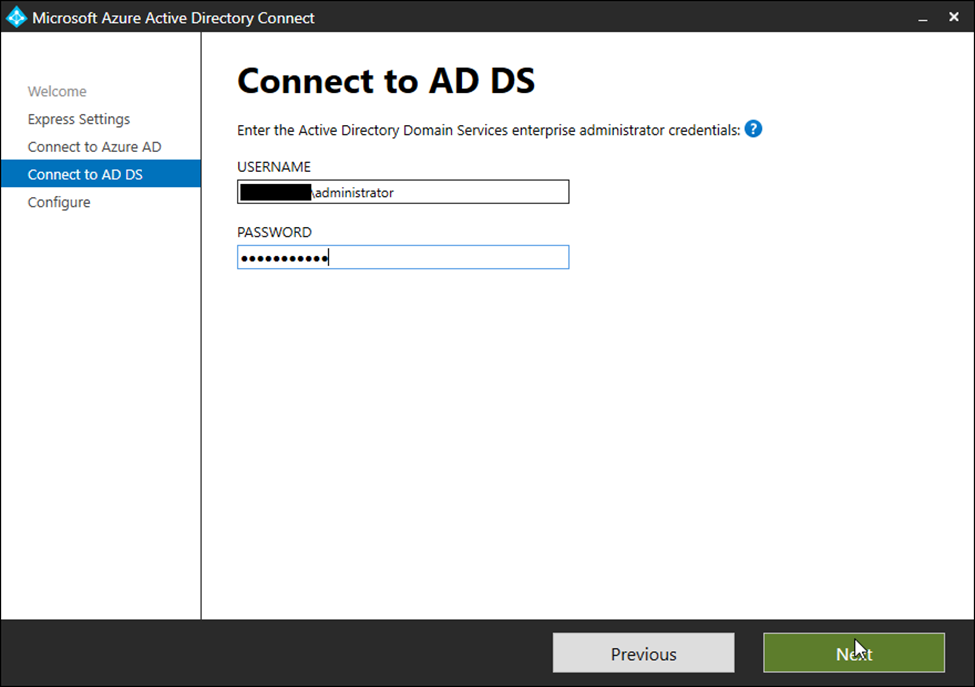
● Enter your on-premises administrator credentials in Connect to AD DS and click ‘Next.’
Also Read |How Website Development Companies Are Making An Impact On Businesses?
● Check ‘Start the synchronization process when configuration completes’ and check the ‘Exchange hybrid deployment’ options. Then click ‘Install.’
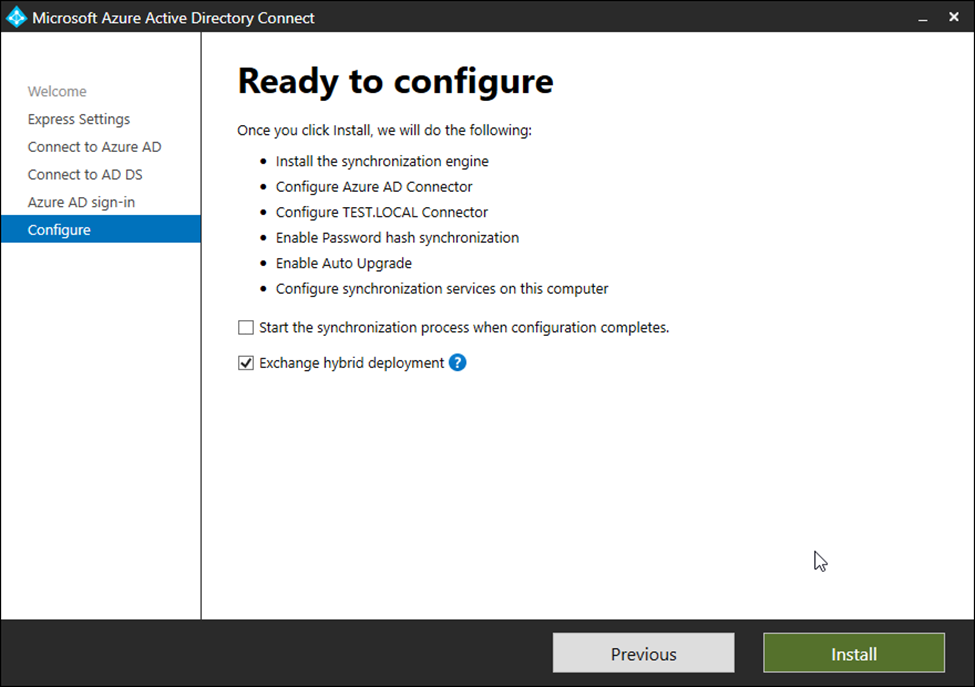
This will install AAD connect on your on-premises Exchange Server and synchronize the local AD to Azure AD. After the synchronization, go to https://portal.office.com/ and log in using any user account to verify it works.
Step 2: Configure Hybrid Deployment
To configure hybrid Exchange office 365 deployment, login to Exchange Admin Center (EAC) as administrator and then follow these steps,
Cost To Build An E-Commerce Marketplace
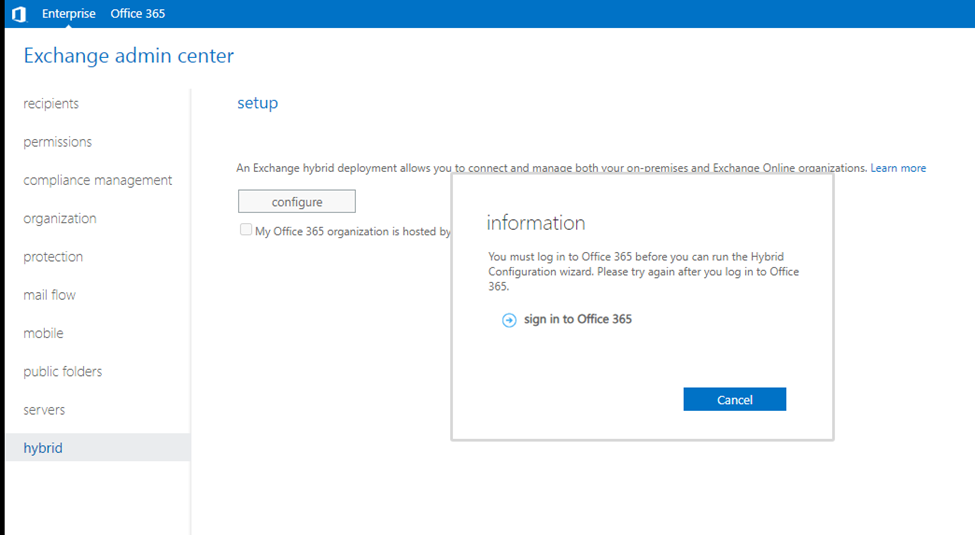
● In EAC, go to ‘hybrid’ and click ‘enable’ or ‘configure.’
● Click ‘sign in to Office 365’ and then log in to Office 365 tenant as Global Administrator.
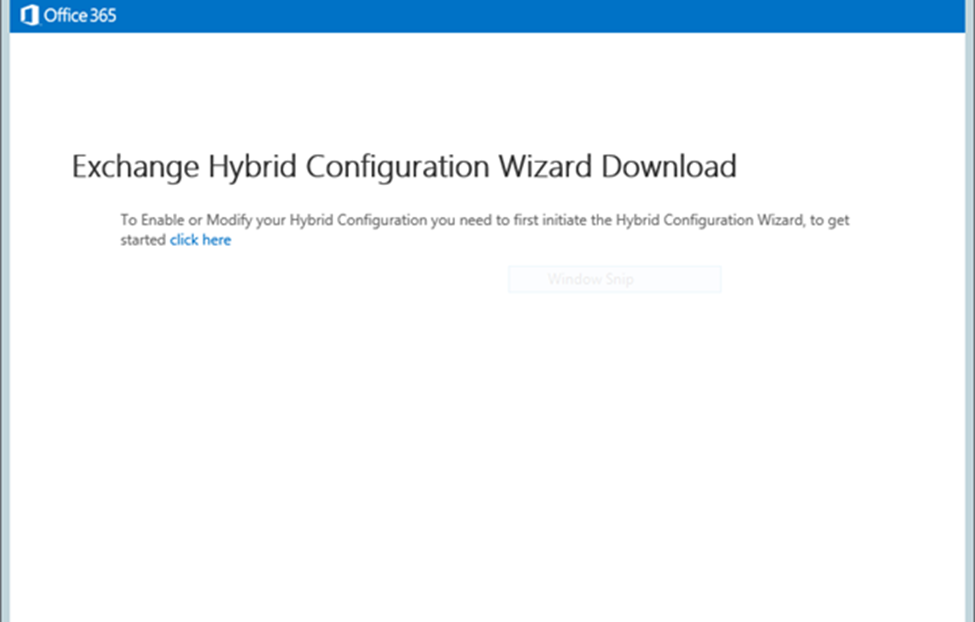
● After login, the interface redirects you to download the Hybrid Configuration Wizard tool. Click on ‘Click Here to download the tool.
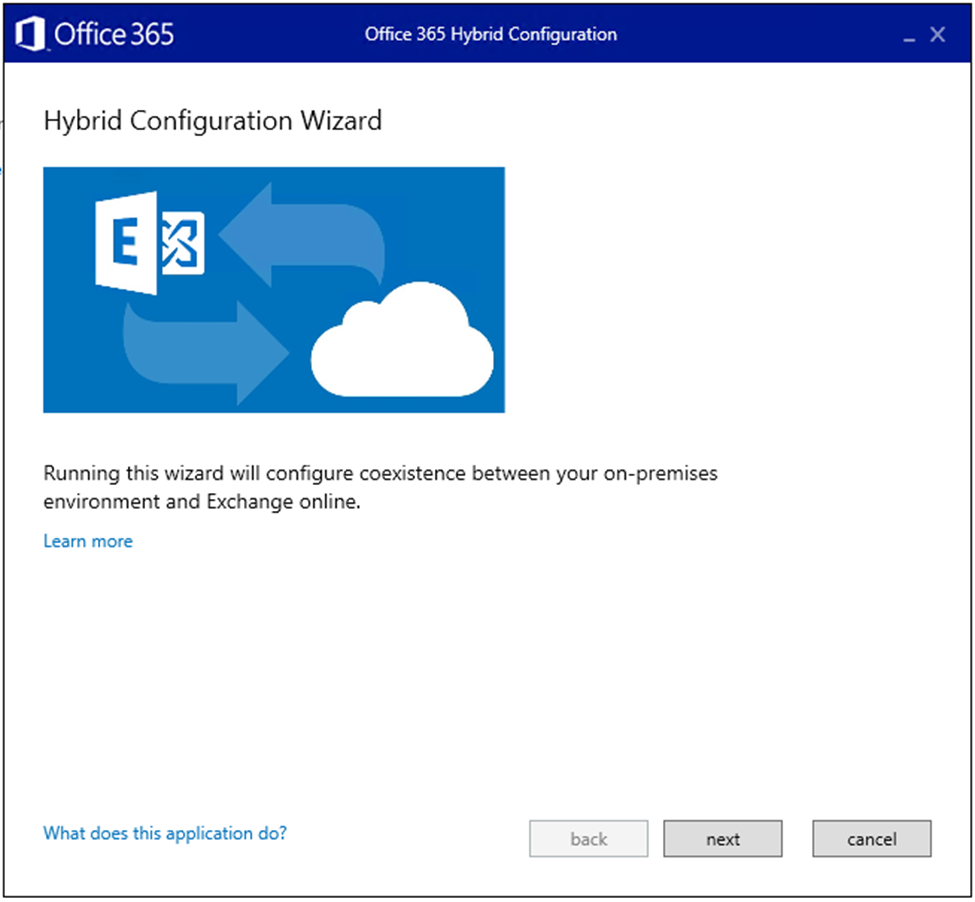
● Click ‘Install’ and follow the prompts to launch the Hybrid Configuration Wizard.
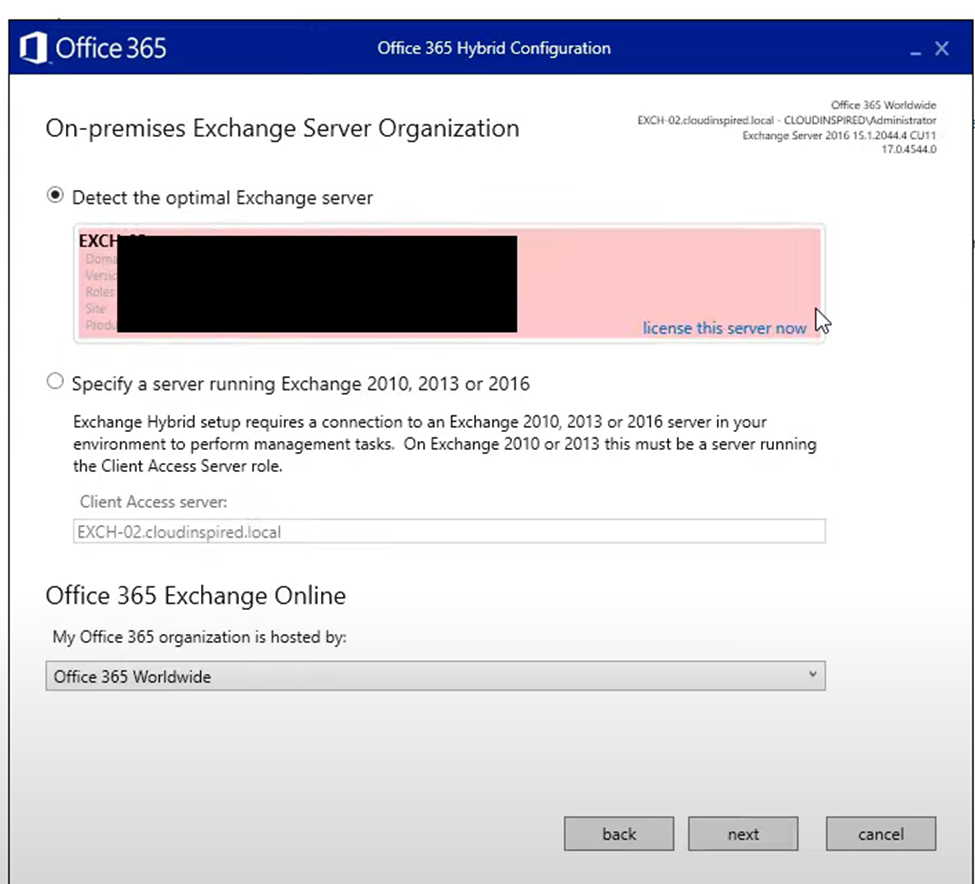
● In the Hybrid Configuration Wizard window, click ‘Next.’
● The Hybrid Configuration Wizard (HCW) will auto-detect your on-premises Exchange Server. Click ‘next.’
Also Read |Business Resolution For Prominent Business Success
● Click ‘sign in’ to login as a Global Administrator and add Office 365 tenant. Click ‘next’.

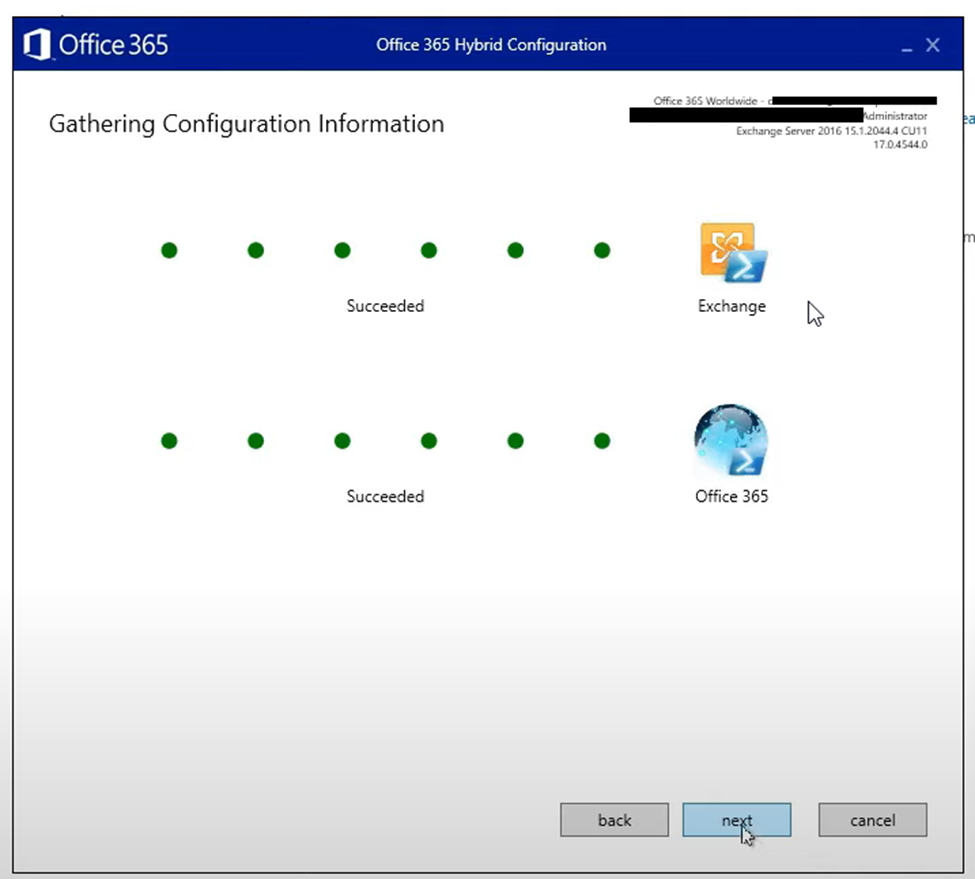
● Once your credentials are validated, click ‘next.’
Also Read | Learn Whether Your Startup Is Ready For Investment?
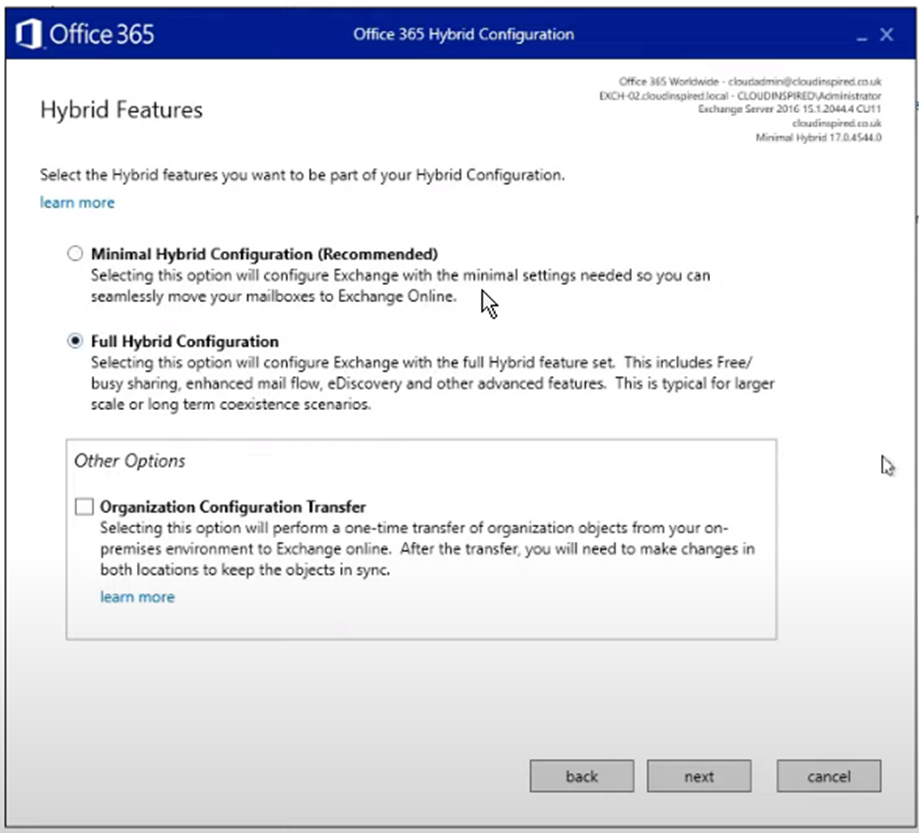
● Choose ‘Full Hybrid’ and click ‘next.’
● Select the topology—Classic or Modern Hybrid and click ‘next.’
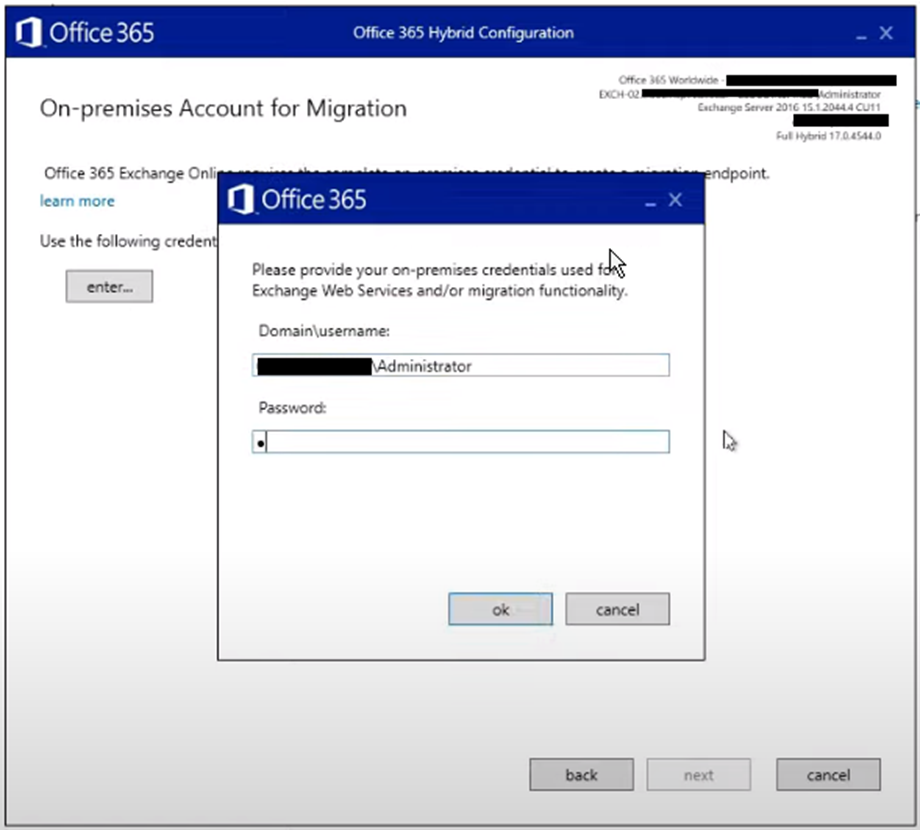
● Click ‘enter…’ and provide Office 365 Global Administrator credentials. Click ‘next’
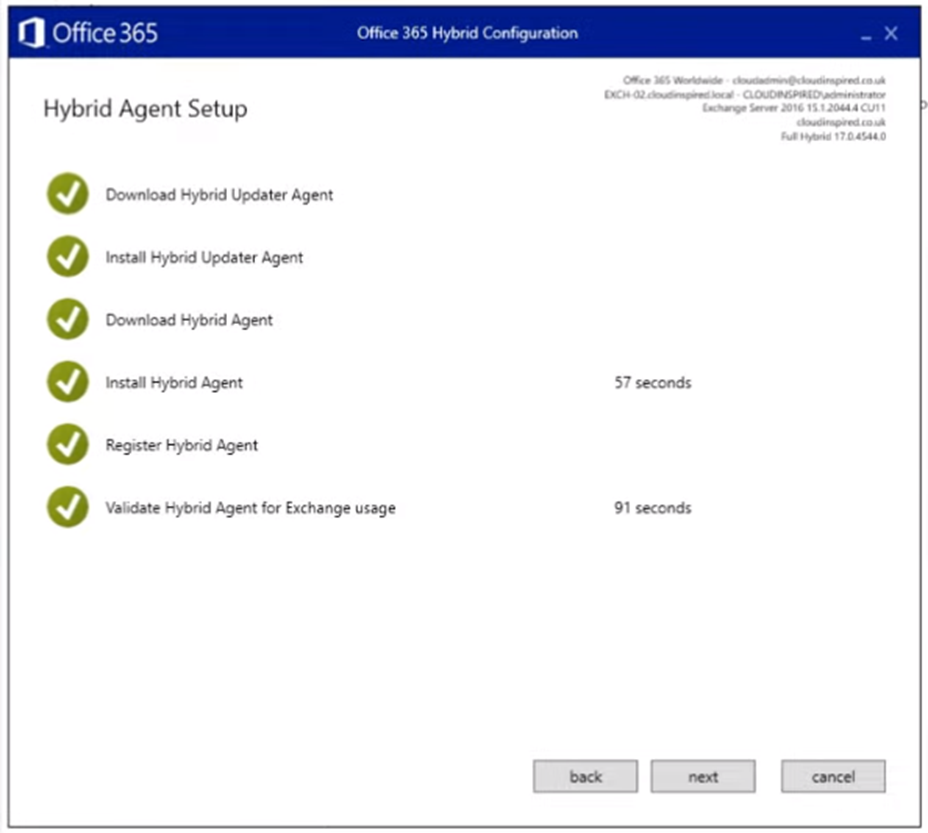
● The HCW will install, register, and validate the Hybrid Agent. Click ‘next.’
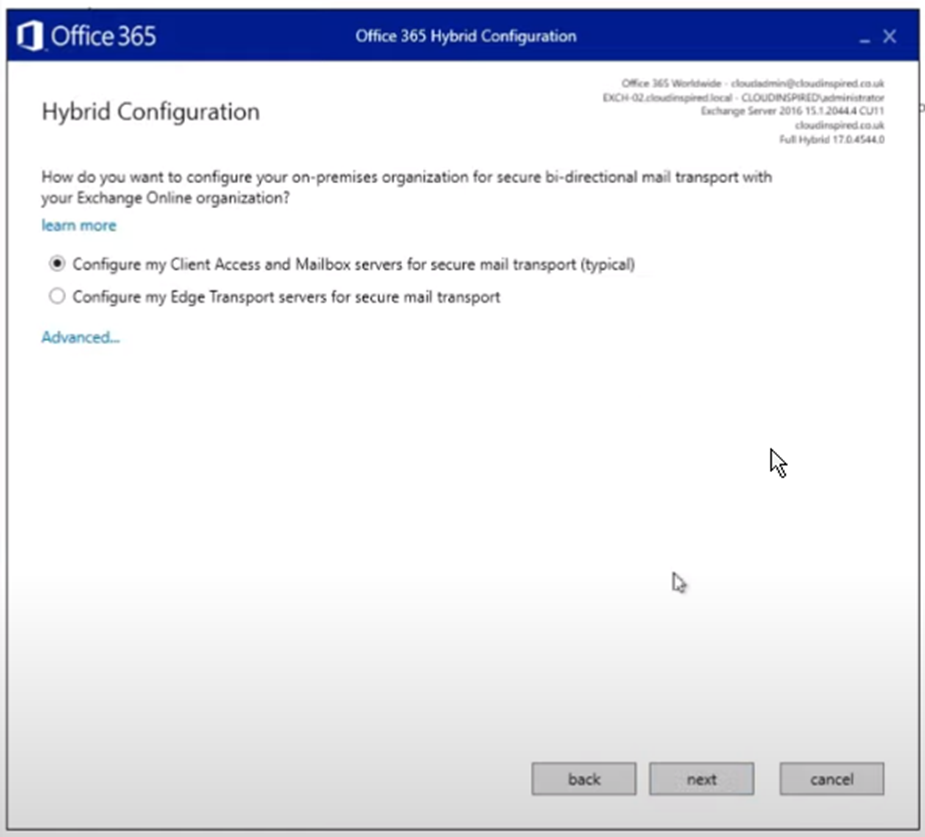
● Choose the ‘Configure my client access….(typical)’ option if you use the client mailbox and mailbox server. Otherwise, choose ‘Configure my Edge Transport servers…’ and click ‘next.’
● Choose your Exchange Server and click ‘next>next.’
Also Read |Make 88% More Than Average American With These Skills
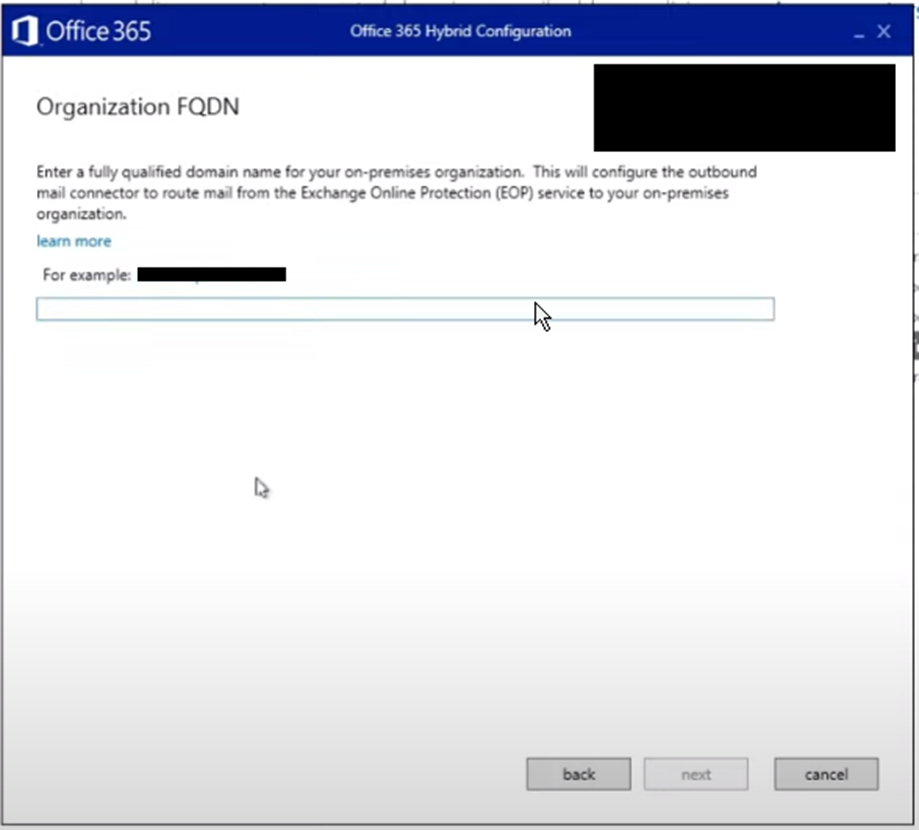
● Enter FQDN and click ‘next.’
● In the Ready to Update window, click ‘update.’
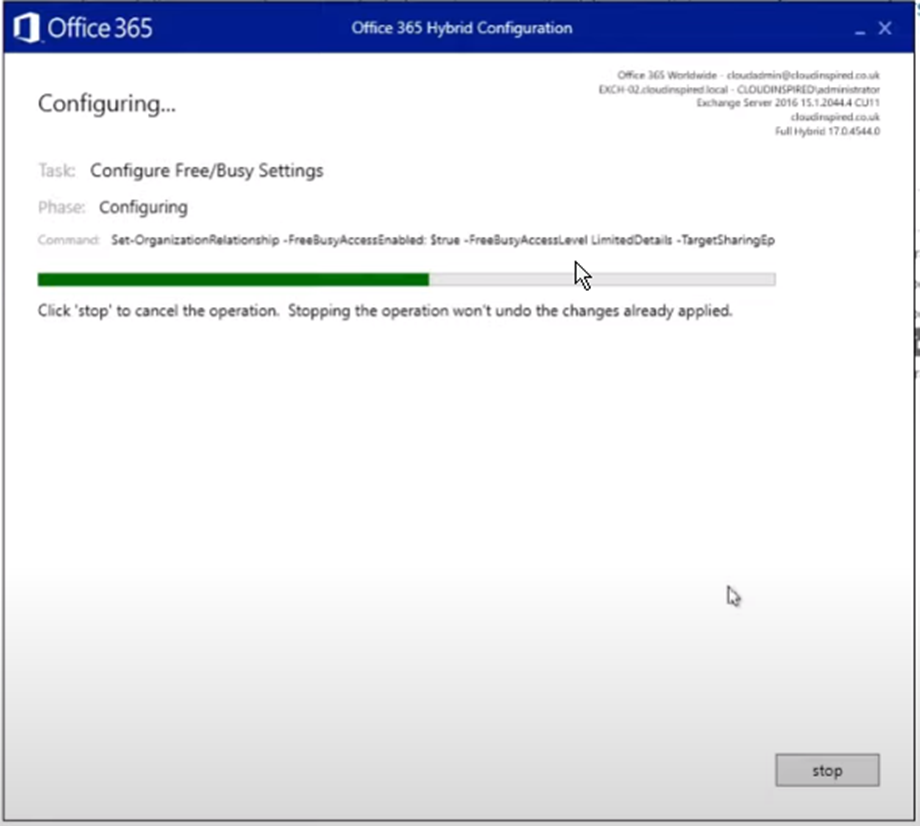
This will configure and enable Hybrid deployment for your organization.
Also Read |AI In Software Testing: A Detailed Explantion
Step 3: Move Mailboxes
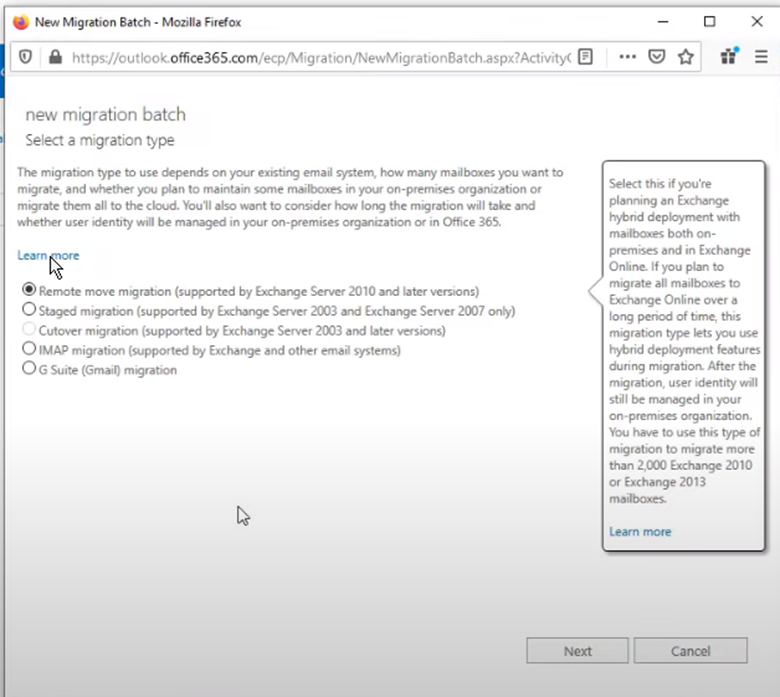
Before moving the mailboxes, assign licenses to the user on Office 365. You can use Remote Move, Staged, or Cutover migration to move mailboxes from your on-premises to Office 365 tenant. Staged Migration is available for Exchange 2003 and 2007 only, while Cutover supports Exchange 2003 and later versions. The remote Move option is also available for Exchange 2010 and later versions.
The steps are as follows,
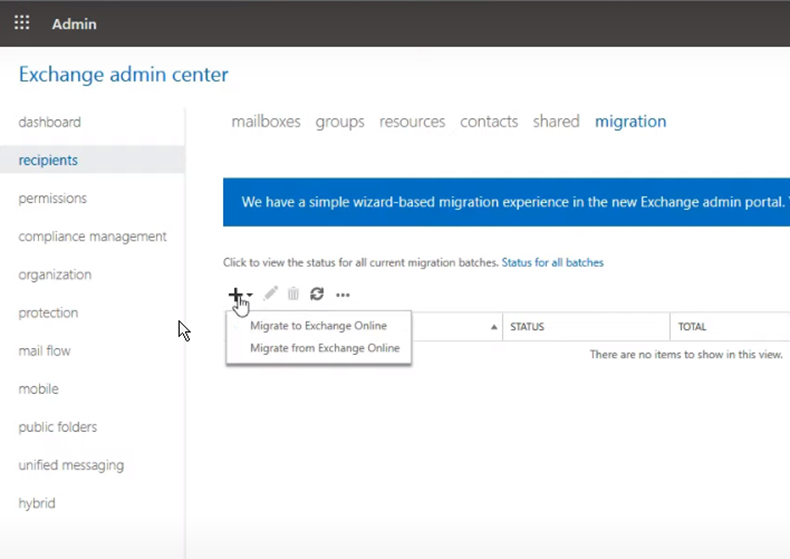
● In EAC, go to recipients> migration.
● Click the ‘+’ icon and choose ‘Migrate to Exchange Online.’
● Choose the migration option from the list. We choose ‘Remote Move…’ and click ‘Next.’
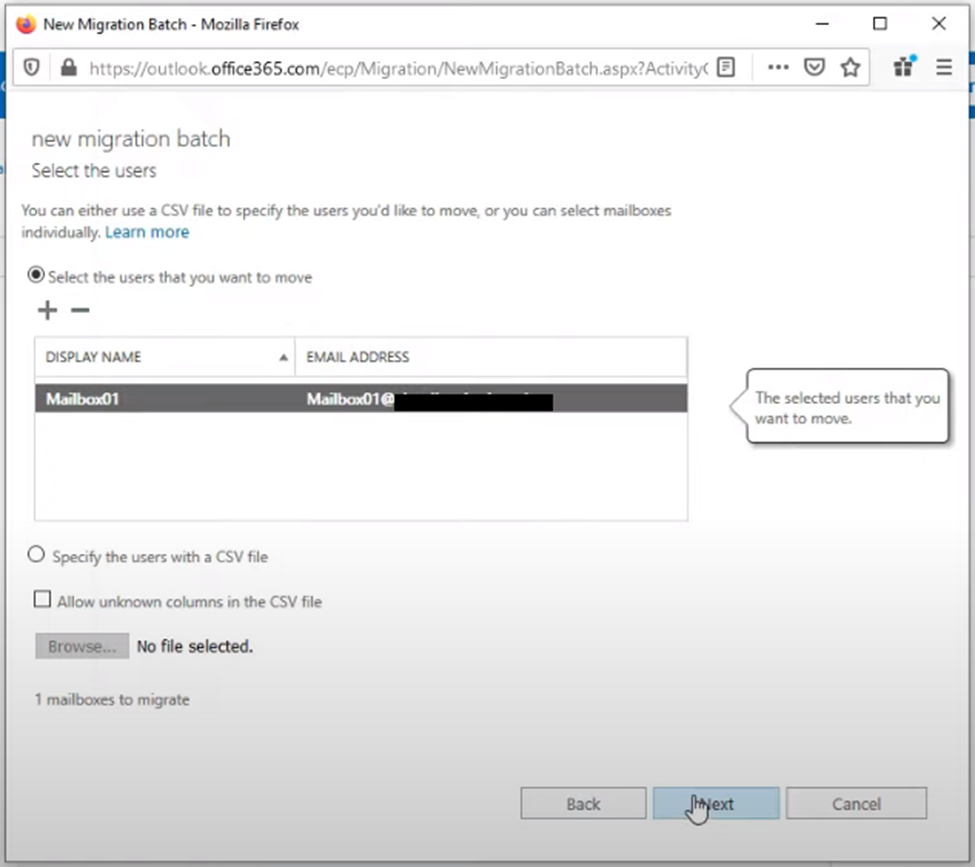
● Click the ‘+’ icon to add mailboxes you want to move to Office 365 and click ‘Next.’
● Select the migration endpoint and click ‘Next.’
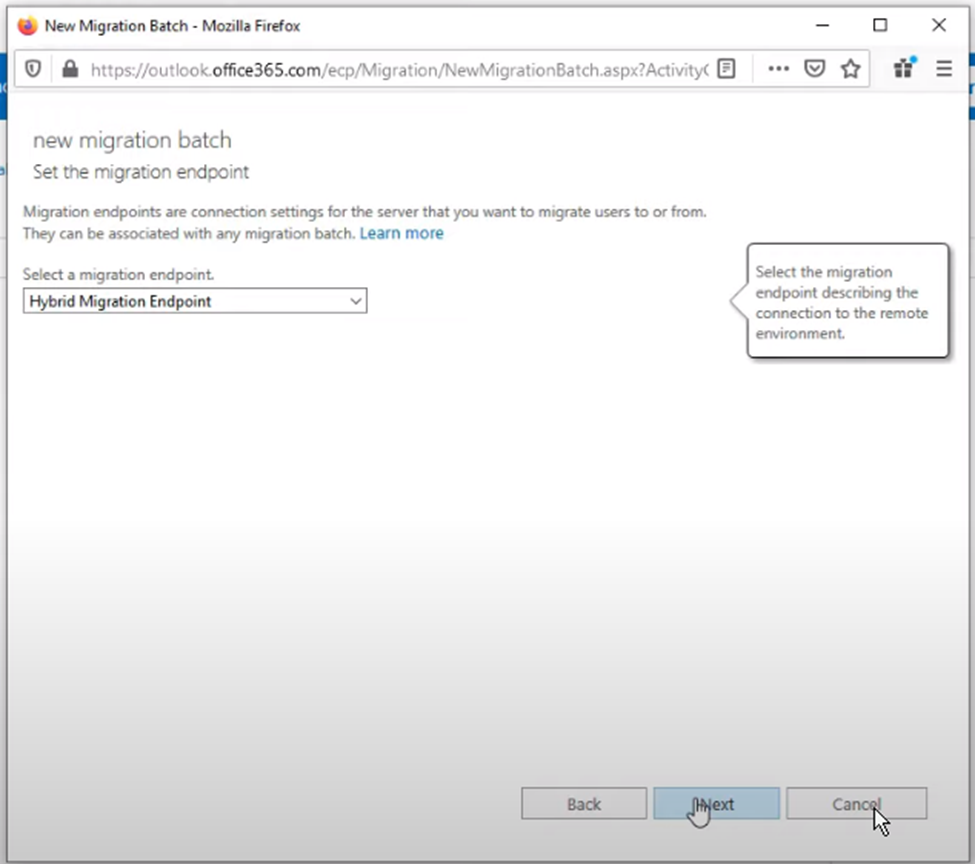
● Enter the FQDN and click ‘Next.’
Also Read | Market Research: How To Get Targeted Survey Results Without Breaking The Bank
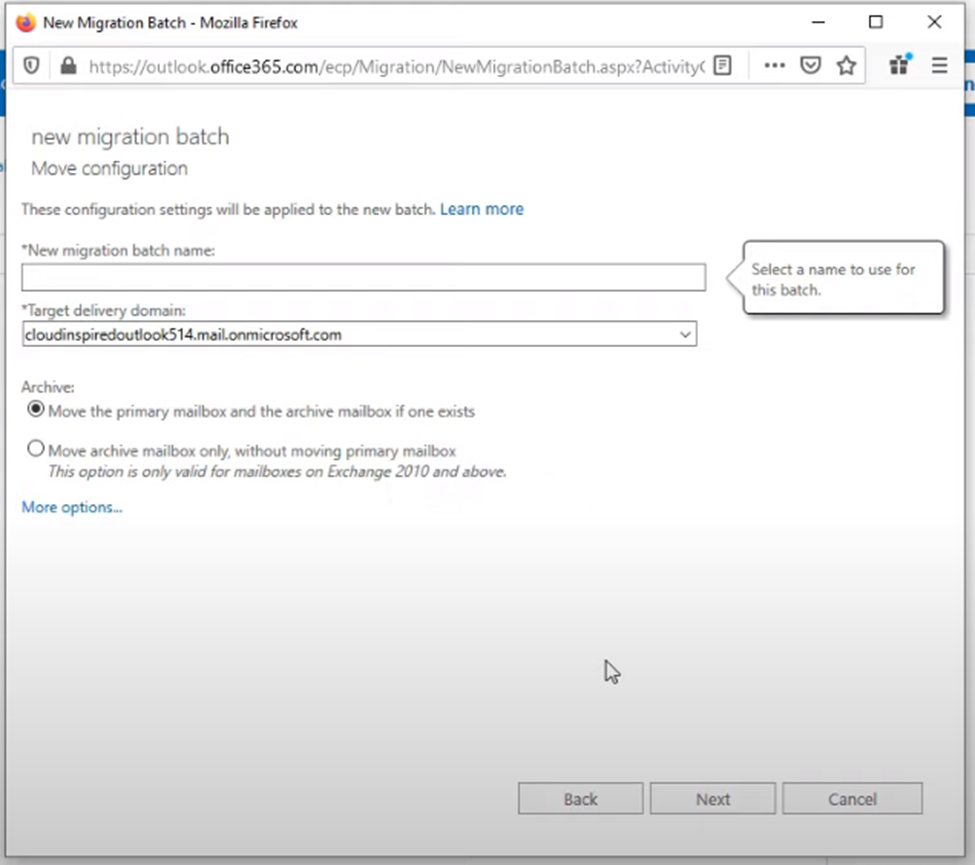
● Enter batch name and choose the ‘Move primary…’ option. Click ‘Next> Finish.’
To check the move status, connect to Office 365 tenant using Exchange Management Shell. The commands are as follows,
$office365= Get-Credentials
Connect-ExchangeOnline –Credentials $Office365 –ShowProgress $true
Get-MoveRequest –Identity ‘abc@xyz.com’
Get-MoveRequestStatistics -MoveRequestQueue “MBXDB02”
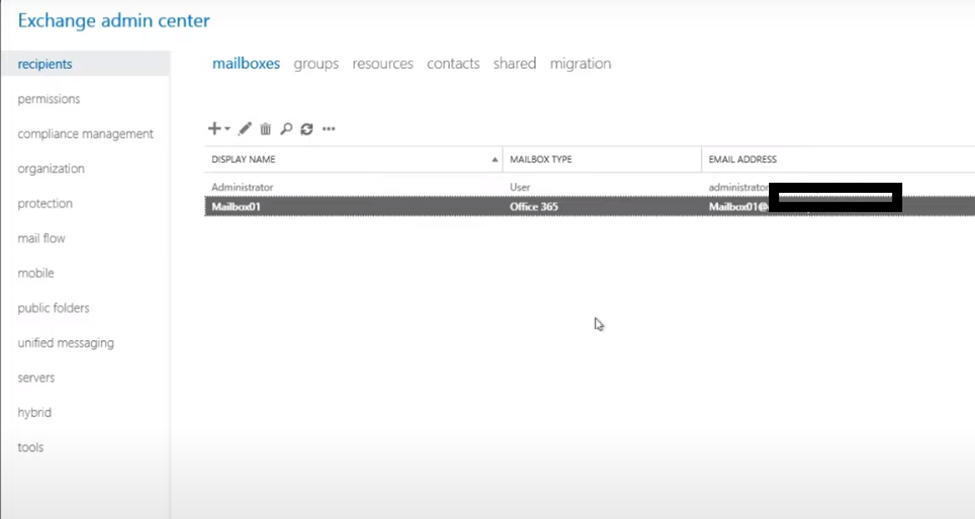
This will show you if the mailbox(s) is synched to Office 365 tenant. To verify, you can go to ‘recipients>mailboxes’ in EAC and refresh the mailboxes. The Mailbox Type should change to Office 365.
Repeat the steps to move all mailboxes. You may also use the PST upload method to export mailboxes from your on-premises Exchange to PSTs and then import them to Office 365 via the network upload method.
However, this is a time-consuming process and may need a few hours to several days based on the number of mailboxes you need to migrate from on-premises Exchange to Office 365. Besides, you have no control over what data to migrate or filter.
Using an EDB converter tool, such as Stellar Converter for EDB, you can overcome these limitations and move all mailboxes at once from your on-premises Exchange database to Office 365 tenant directly while saving a significant amount of effort and time.
The software provides a much faster, more reliable, and more secure way to move mailboxes from your Exchange database to Office 365. It automatically maps the source and destination mailboxes—making your job easier. It also exports up to four mailboxes simultaneously to the target Office 365 tenant—speeding the migration process by 4x. You can download the free demo version to get started.
To Wrap Up
Setting up a Hybrid Exchange Office 365 server is a recommended approach whether you want to move the entire Exchange to Office 365 or experience the best of the two worlds. With greater flexibility and scalability, Office 365 adds to the peace of mind while Exchange on-premises add to data security as you can choose to keep your data in-house.
After a hybrid deployment, if you wish to migrate on-premises completely to Office 365 eventually, you should stop publishing Exchange on-premises to the internet after the migration is complete. This is an important housekeeping step often overlooked by administrators. However, if you are facing issues, have any questions, or need more help, leave a comment below and the Codersera team will be there to help you out.