

Codersera


2 min to read
Set Up Hunyuan3D-2 on Windows: A Step-by-Step Guide
Setting up Hunyuan3D-2 locally on a Windows machine involves several steps, including meeting system requirements, installing necessary software, and configuring the environment for optimal performance. This guide provides a comprehensive walkthrough to ensure a successful installation and setup of the Hunyuan3D-2 model. What is Hunyuan3D-2? Hunyuan3D-2 is an advanced AI model developed by Tencent that converts 2D images into high-resolution 3D models. It leverages diffusion models for shape
Setting up Hunyuan3D-2 locally on a Windows machine involves several steps, including meeting system requirements, installing necessary software, and configuring the environment for optimal performance. This guide provides a comprehensive walkthrough to ensure a successful installation and setup of the Hunyuan3D-2 model.
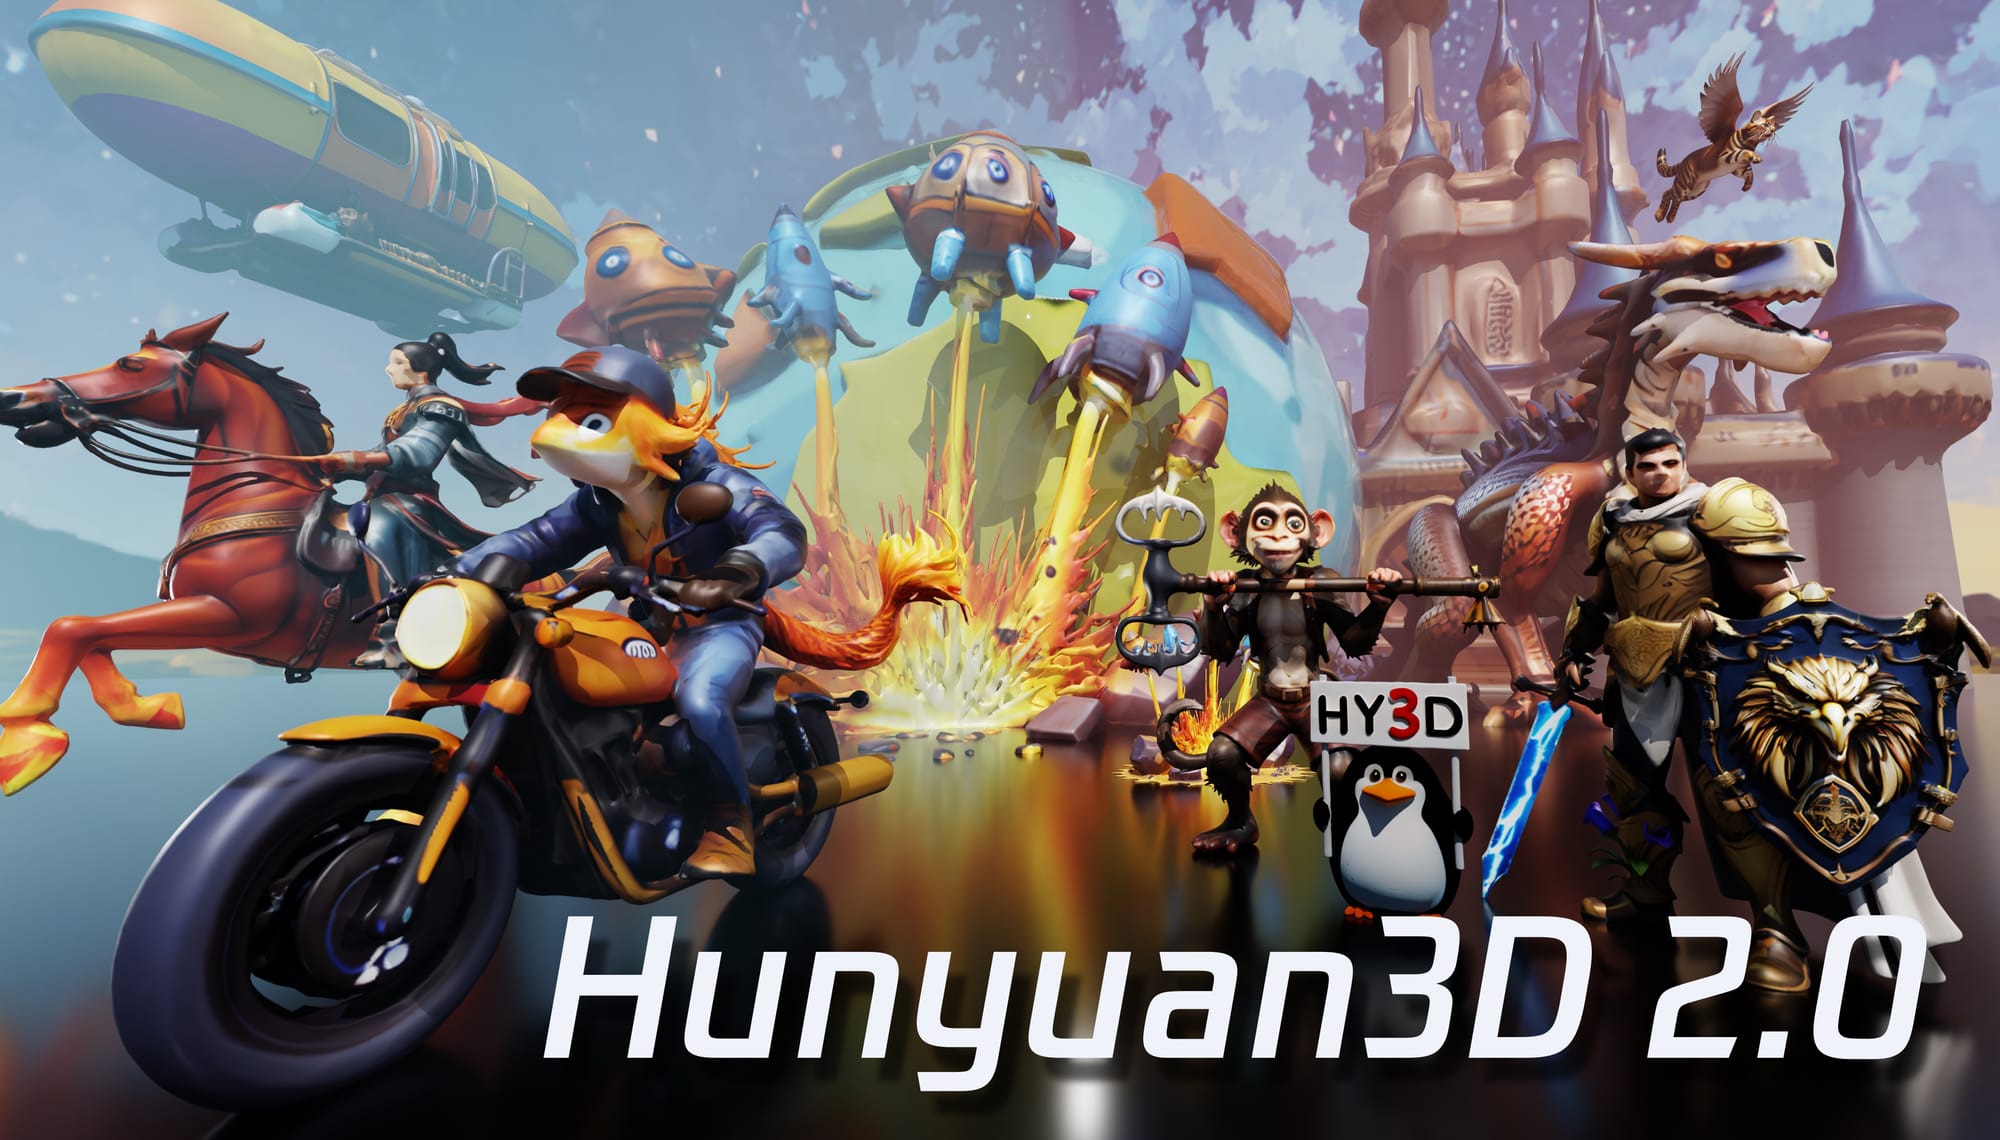
What is Hunyuan3D-2?
Hunyuan3D-2 is an advanced AI model developed by Tencent that converts 2D images into high-resolution 3D models. It leverages diffusion models for shape generation and texture synthesis, making it a powerful tool for artists, designers, and developers looking to create 3D assets from 2D images.
System Requirements
Ensure your system meets the following requirements before proceeding:
- Operating System: Windows 10 or later
- Processor: Intel i5 or higher (i7 or better recommended)
- RAM: Minimum 16GB (32GB recommended)
- GPU: NVIDIA GPU with at least 6GB VRAM (8GB+ recommended for texture generation)
- GPU Driver: Version newer than March 2024 (version >550)
- Storage: At least 50GB free space for model files and dependencies
Software Requirements
To run Hunyuan3D-2, install the following software:
- Python (Version 3.11 or later)
- CUDA Toolkit (Version 12.4 or later)
- Visual Studio Build Tools (For compiling C++ components)
- PyTorch (Compatible with your CUDA version)
Installation Guide
Step 1: Install Python
- Download Python from the official website.
- Run the installer and check "Add Python to PATH."
Verify installation:
python --version
Step 2: Install CUDA Toolkit
- Download the latest CUDA Toolkit from the NVIDIA website.
- Follow the installation instructions.
Verify CUDA installation:
nvcc --version
Step 3: Install Visual Studio Build Tools
- Download Visual Studio Build Tools.
- Select "Desktop development with C++" during installation.
Step 4: Install PyTorch
- Visit PyTorch’s website to select the correct installation command.
Install via pip:
pip install torch torchvision torchaudio --extra-index-url https://download.pytorch.org/whl/cu124
Step 5: Download Hunyuan3D-2
Navigate into the directory:
cd Hunyuan3D-2
Clone the repository:
git clone https://github.com/tencent/Hunyuan3D-2.git
Step 6: Install Required Python Packages
Run the following command:
pip install -r requirements.txt
Step 7: Setup Texture Generation (Optional)
Run the setup script:
python setup.py install
Navigate to the texture generation directory:
cd hy3dgen/texgen/custom_rasterizer
Step 8: Download Model Files
- Return to the main directory of Hunyuan3D-2.
Execute the script to download models:
.\2-download-models.bat
(This process may take some time as it downloads approximately 26GB of model data.)
Step 9: Running Hunyuan3D-2
- If you encounter an "EP Error," it can be ignored as it typically indicates a fallback to CUDA.
Run the application:
.\3-run.bat
Step 10: Accessing the Web Interface
Open your browser and go to:
http://localhost:8080/
This will bring up the Hunyuan3D interface where you can start generating 3D models.
Troubleshooting Common Issues
- Insufficient VRAM: If your GPU has limited VRAM, use
run-very_low_vram.batfor optimized memory usage. - Dependency Errors: Ensure all required dependencies are installed by checking
requirements.txt. - CUDA Errors: Update your GPU drivers and verify compatibility with your CUDA version.
Conclusion
Setting up Hunyuan3D-2 locally on Windows is straightforward if you carefully follow these steps. With the right configuration, you can fully utilize its capabilities for creating stunning 3D models from simple 2D images.
By ensuring that your system meets the requirements and proceeding through each step methodically, you’ll be able to explore all the features of Hunyuan3D-2 effectively, whether for personal projects or professional use in design and development environments.
With advancements in AI technology like Hunyuan3D-2, transforming creative visions into reality has never been easier!
References
[1] Hunyuan3D-2 GitHub Repository
[2] Hunyuan3D-2 Windows Port
[3] YouTube Tutorial
[4] Reddit Discussion on Hunyuan3D-2
🚀 Try Codersera Free for 7 Days
Connect with top remote developers instantly. No commitment, no risk.
Tags
Trending Blogs
Discover our most popular articles and guides

10 Best Emulators Without VT and Graphics Card: A Complete Guide for Low-End PCs
Running Android emulators on low-end PCs—especially those without Virtualization Technology (VT) or a dedicated graphics card—can be a challenge. Many popular emulators rely on hardware acceleration and virtualization to deliver smooth performance.

Android Emulator Online Browser Free
The demand for Android emulation has soared as users and developers seek flexible ways to run Android apps and games without a physical device. Online Android emulators, accessible directly through a web browser.

Free iPhone Emulators Online: A Comprehensive Guide
Discover the best free iPhone emulators that work online without downloads. Test iOS apps and games directly in your browser.
10 Best Android Emulators for PC Without Virtualization Technology (VT)
Top Android emulators optimized for gaming performance. Run mobile games smoothly on PC with these powerful emulators.

Gemma 3 vs Qwen 3: In-Depth Comparison of Two Leading Open-Source LLMs
The rapid evolution of large language models (LLMs) has brought forth a new generation of open-source AI models that are more powerful, efficient, and versatile than ever.

ApkOnline: The Android Online Emulator
ApkOnline is a cloud-based Android emulator that allows users to run Android apps and APK files directly from their web browsers, eliminating the need for physical devices or complex software installations.

Best Free Online Android Emulators
Choosing the right Android emulator can transform your experience—whether you're a gamer, developer, or just want to run your favorite mobile apps on a bigger screen.
Gemma 3 vs Qwen 3: In-Depth Comparison of Two Leading Open-Source LLMs
The rapid evolution of large language models (LLMs) has brought forth a new generation of open-source AI models that are more powerful, efficient, and versatile than ever.


